A pool that looks complete but leaves no room to reach its equipment is poorly planned. Successful swimming pool construction starts with selecting a pool type, translating the design into coordinated plans, and allowing clear service access around the equipment. Site work, plumbing, and electrical wiring should be considered together, not treated as separate afterthoughts.
Choosing a pool is only one part of swimming pool construction. The shell material affects how it is built, while the site layout shapes excavation, utility routes, and equipment placement. Resolving these details early helps create a pool that works well and feels visually cohesive with its surroundings.
This guide explains how to compare concrete, vinyl liner, and fiberglass pools; use drawings to coordinate installation; and plan excavation, plumbing, wiring, and equipment access. Follow the steps in order to build a clearer picture of the decisions that shape a well-integrated pool project.
Key Takeaways
- Use coordinated drawings and installation manuals to align pool dimensions, equipment locations, and construction details before site work begins.
- Compare concrete, vinyl liner, and fiberglass options by considering how each material affects design flexibility and the build process.
- Plan excavation, rebar, plumbing, and wiring as connected stages so utility routes are resolved before they’re difficult to access.
- Reserve clear working space around pool equipment so routine servicing and future repairs are practical.
Construction drawings and installation manuals
- Set the design on coordinated drawings. Show the pool’s shape, dimensions, depth changes, steps, and relationship to the house and deck. Add the equipment location, plumbing routes, electrical connections, and access paths. This drawing set gives swimming pool construction a shared reference, helping each installation stage follow the same layout instead of relying on assumptions.
- Account for local approvals and safety features. For a Florida project, applicable permits and building-code requirements depend on the jurisdiction and design. Identify them in the plans before work begins. Barrier, fence, and alarm requirements also depend on applicable local rules; show the required protections and their locations on the drawing set.
- Coordinate any retractable roof and rails. Mark the roof’s travel path, rail alignment, support points, and clearance from walls, landscaping, and pool equipment. Use the manufacturer’s installation manual alongside the project drawings, so rail placement and structural details match the selected system. Resolve obstructions before laying out the surrounding deck.
- Map pump, filter, and plumbing positions. Indicate where the pump and filter sit, how pipes connect to pool fittings, and where valves remain reachable. Follow equipment manuals for connections and installation sequence. Keep service access in the plan, rather than placing machinery where a wall, fence, or finished surface blocks later work.
- Choose a contractor through specific questions. Ask who prepares the drawings, coordinates plumbing and wiring, manages permits, and follows the equipment manuals. Request a written scope that explains the installation sequence, schedule assumptions, included work, and how design changes are documented. Compare answers against the plans, not just a verbal description.
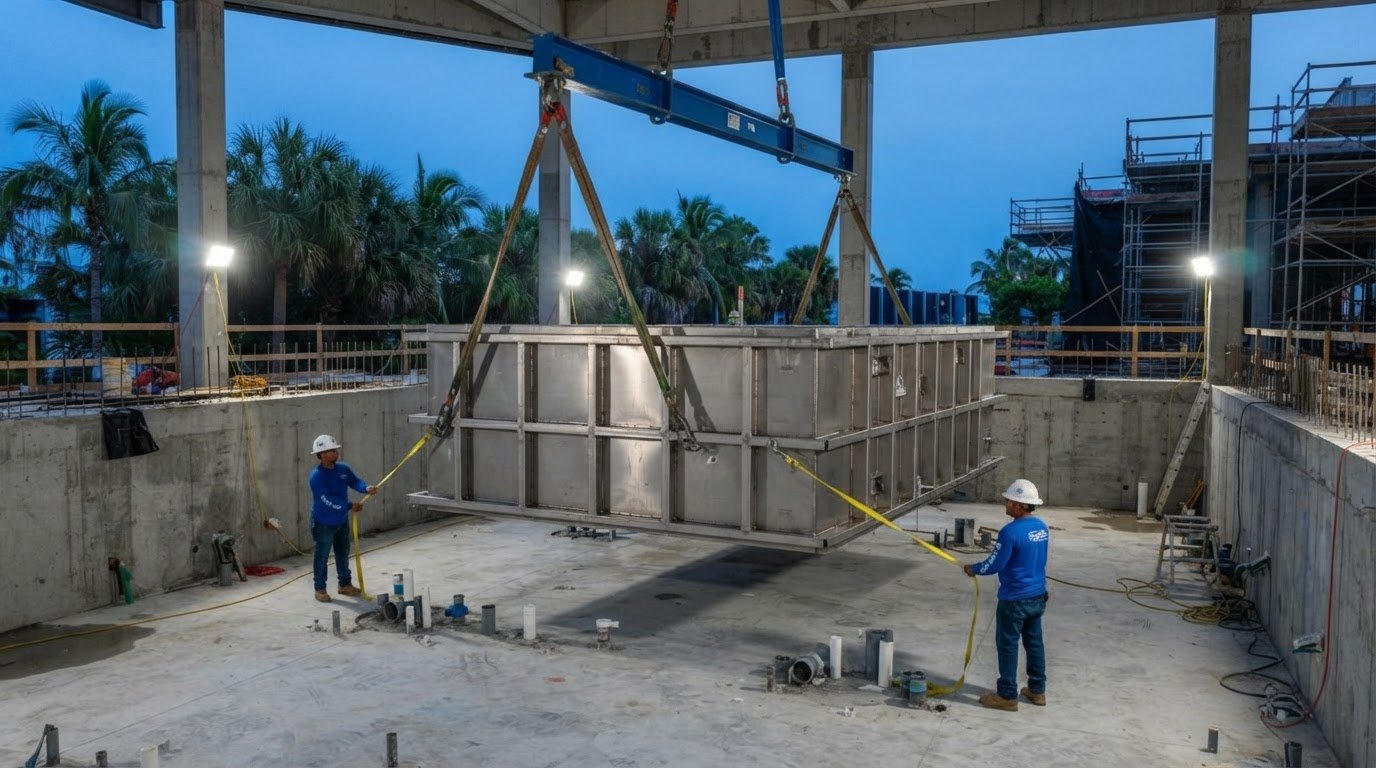
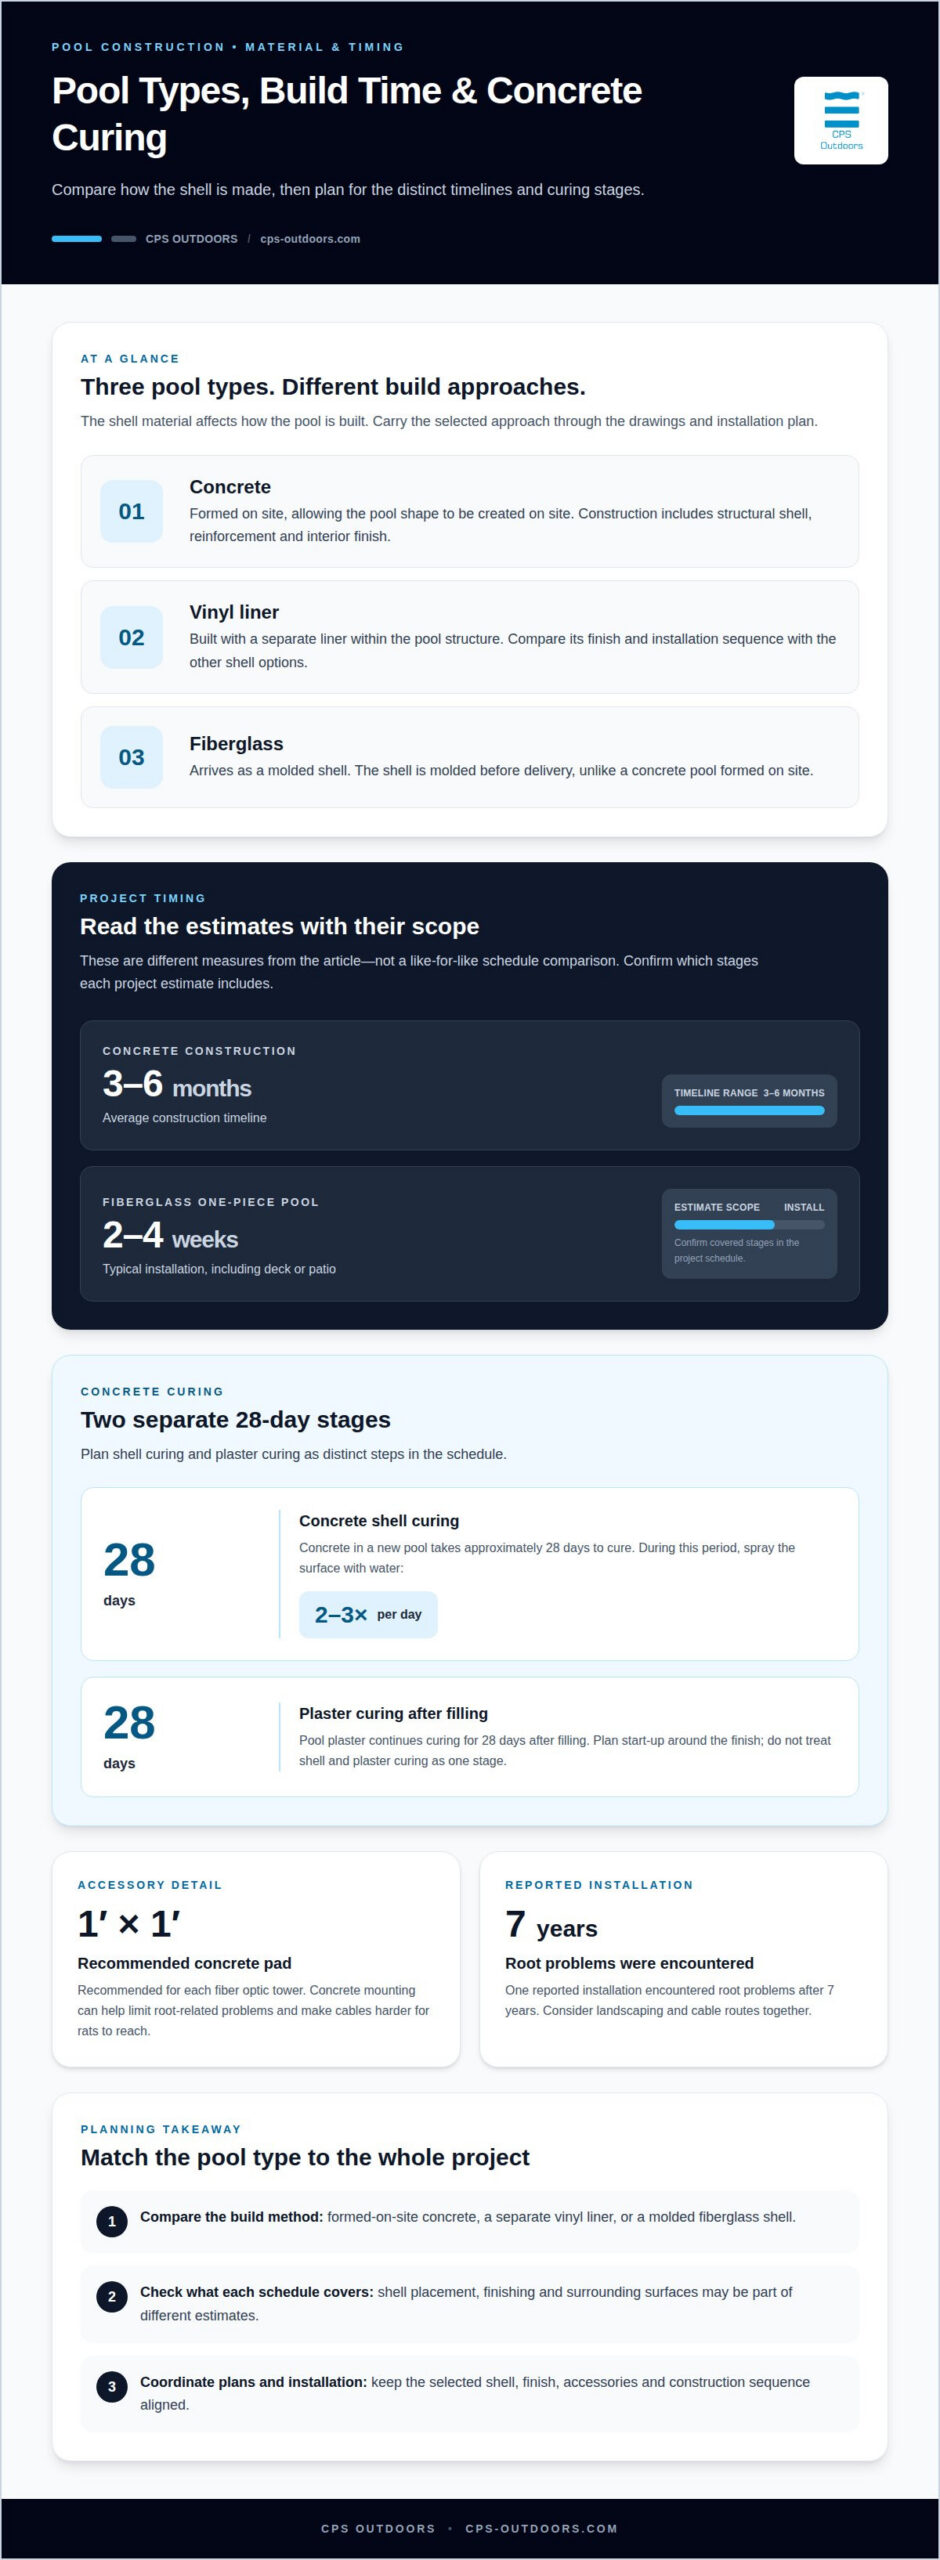
- Use the manual to understand timing and operating costs. A fiberglass one-piece pool typically takes about 2-4 weeks to install, including the deck or patio. Confirm which stages that estimate covers in the project schedule. Annual maintenance spending depends on pool size, equipment, energy use, chemicals, and service frequency, so include these operating factors in planning.
Comparing concrete, vinyl liner, and fiberglass pools
Compare pool types by design flexibility, construction method, and installation requirements. Then consider which approach suits your Florida property, site conditions, and project priorities.
-
Review concrete materials and savings
List the concrete pool components shown in the plans, including the structural shell, reinforcement, and interior finish. Concrete construction allows the pool shape to be formed on site, while vinyl liner pools use a separate liner and fiberglass pools arrive as a molded shell. DIY concrete work may reduce project costs depending on how much work the owner performs, but weigh that against coordinating materials and construction stages.
-
Place and cure concrete
Follow the planned sequence for placing and finishing concrete, then protect the surface during curing. Concrete in a new pool takes approximately 28 days to cure; during that period, the surface should be sprayed with water 2-3 times per day. Pool plaster continues curing for 28 days after filling, so plan the start-up schedule around the finish rather than treating the shell and plaster as one curing stage.
- Compare construction timelines. Concrete pool construction takes 3-6 months on average, reflecting its multiple on-site stages. A fiberglass shell is molded before delivery, while a vinyl liner is installed within its pool structure. Compare each proposed schedule by the work it includes, such as shell placement, finishing, and surrounding surfaces.
- Plan concrete details for accessories. If the design includes fiber optic towers, mount them on concrete to help limit root-related problems and make cables harder for rats to reach. A recommended pad is 1’ x1’ for each tower. One reported installation encountered root problems after 7 years, a reminder to consider landscaping and cable routes together.
- Choose by project priorities. Compare the formed-on-site flexibility of concrete with the molded shell of fiberglass and the liner-based finish of vinyl. Match the selection to the intended shape, finish, and construction sequence, then carry that choice consistently into the drawings and installation plan.
Excavation, rebar, plumbing, and wiring
Coordinate site preparation, excavation, structural reinforcement, and utility installation against the same pool plan. Sequence matters: buried plumbing and wiring are harder to adjust once the shell takes shape.
-
Assess site conditions
Walk the proposed pool footprint and equipment route with the builder. Soil conditions affect excavation and the support planned beneath the pool; restricted access can limit machinery and material movement. In Florida, account for rain and changing ground moisture when planning site work. These conditions shape excavation logistics, work sequencing, and safe material staging.
-
Excavate the pool site
Mark the pool outline and planned elevations before excavation. Include room for the shell, surrounding work, and equipment access in the site layout. Plan space for material staging and construction traffic, keeping machinery routes clear of the pool footprint. Compare the excavation with the drawings before the next stage to confirm the dimensions and planned depth changes.
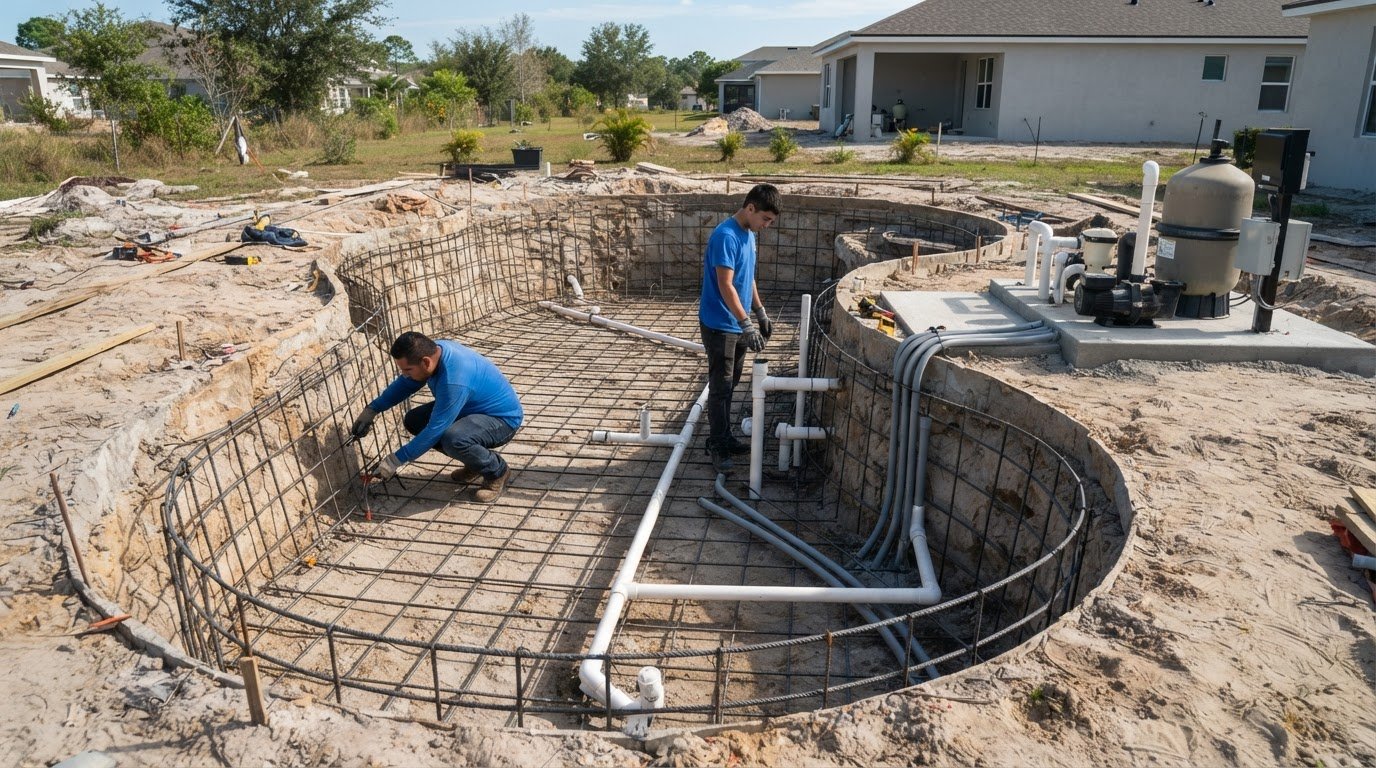
- Coordinate rebar and plumbing. Install structural reinforcement according to the engineered pool design, then coordinate pipe routes with fittings, drains, and equipment locations. Keep plumbing paths clear of rebar placement and identify every connection before the shell work proceeds. For a dedicated cleaner line, the described setup uses a 1.5-inch PVC pipe running from the equipment pad to the pool’s centermost point. Mark that route on the plans.
- Lay out wiring before closing access. Coordinate electrical routes with the pump, lighting, and other planned pool equipment. Keep wiring paths distinct from plumbing routes, and place crossings where the construction plan accounts for them. Review the layout before backfilling or enclosing any work. A marked drawing helps the builder locate buried lines later and reduces confusion during installation or future service.
- Prepare the base and confirm the sequence. Where the planned installation uses a gravel subsoil, it is laid over geotextile fabric and compacted. Check that the specified base preparation, reinforcement, plumbing, and wiring are complete before the pool shell advances to the next construction stage. This final coordination step connects site excavation with the pool’s structural and mechanical layout.
Leaving service access around pool equipment
Design the equipment area as a working space, not simply a place to hide machinery. Good access supports inspections, repairs, and plumbing connections, and makes components easier to reach without disturbing finished landscaping.
- Choose an accessible equipment location. Pool equipment can be installed in a purpose-built pool shaft, garage, or basement. Compare each location against the planned pipe routes and the path technicians will use to reach the equipment. Avoid placing machinery behind fixed features that obstruct access to valves, connections, or removable components.
- Reserve clear working space around each component. Leave enough room to approach the pump, filter, and plumbing connections from the sides where servicing occurs. Consider the actions involved: opening equipment housings, inspecting connections, and removing a component for repair. A narrow enclosure may fit the equipment but still make those tasks difficult.
- Keep service routes visible in the layout. Mark the equipment pad, access path, and nearby walls or gates on the construction drawings. Check that a gate opens without blocking the work area and that landscaping won’t occupy the route. Resolve these conflicts before installing decking or other permanent features around the pool.
- Group controls where they remain reachable. Locate pool-related three-way valves at the equipment pad, as recommended in the construction guidance. This places key controls near the machinery they serve and makes the system easier to inspect. Keep labels and handles visible rather than placing them behind pipes or inside an obstructed corner.
- Review access before finalizing the enclosure. Stand at the planned equipment location and trace how each item will be reached, inspected, and removed. Check access from the entry point through to the pump and filter. If a wall, door, or finished surface narrows that route, adjust the layout before construction makes changes more difficult.
Plan pool equipment service access alongside the surrounding design, so finished features don’t compromise practical maintenance.
CPS Outdoors: Residential Pool Construction
CPS Outdoors brings residential pool construction together with custom pool design and engineering for Florida homeowners planning a new aquatic environment. When you’re ready to move from comparing materials and reviewing site requirements to shaping a coordinated plan, the team can consider design decisions, equipment placement, and service access as part of one project.
For an existing pool, a renovation starts with the current structure and the improvements you want to make. CPS Outdoors also designs and builds commercial aquatic projects for settings beyond private homes. Defining the project type and goals helps set the right direction, whether you’re planning a pool for a new home or renovating an existing one.
Contact CPS Outdoors to discuss your pool project.
Shape the Next Step Around Your Outdoor Vision
Thoughtful swimming pool construction starts with a clear picture of how the space should serve you over time. Look beyond the pool itself: consider how you’ll move between the water, home, and outdoor living areas, the atmosphere you want, and the features that matter most in daily use. These priorities can guide design decisions and keep the project focused as details take shape.
Before moving forward, gather material preferences, inspiration images, and notes on how you expect to use the space. A concise project brief gives the design discussion a practical starting point, connecting everyday needs with the setting you have in mind. It also helps separate must-haves from details you’re open to refining.
When you’re ready to explore your plans, contact CPS Outdoors about your pool project. With a thoughtful vision and a clear next step, you can begin shaping an outdoor environment that feels distinctly yours.
Frequently Asked Questions
How much does it cost to build an inground swimming pool in the United States?
Project scope depends on the design, materials, site conditions, access, finishes, and equipment. A custom concrete pool with complex features and extensive surrounding work involves different requirements from a simpler installation. Define the scope first, including decking, lighting, and water features, then compare estimates against the same proposed work so you can identify what each includes.
What factors affect swimming pool construction costs?
Pool type, dimensions, shape, soil conditions, and site access all influence the work involved. Specialty finishes, lighting, covers, and water features can also affect the scope. In Florida, property layout and construction access shape excavation and material delivery. Set priorities early, distinguishing essential features from those you could adjust as the design develops.
How long does it take to build a swimming pool?
Construction time varies by pool type and project scope. A concrete pool takes 3-6 months on average, while a fiberglass pool takes about 2-4 weeks to install, including the deck or patio. Those timelines describe different construction methods, so compare what each schedule covers. Design development, site preparation, weather, and added features also shape the overall sequence for a Florida project.
What are the steps in swimming pool construction?
The process typically moves from design and planning to site preparation, excavation, structural work, plumbing and wiring, installation, finishing, and start-up. The sequence varies by pool type: a fiberglass shell arrives as a formed unit, while a concrete pool is built on site. Keep drawings, equipment requirements, and construction planning coordinated as decisions progress.
How do concrete, fiberglass, and vinyl liner pools compare?
Concrete pools are formed on site and can accommodate custom shapes, with construction taking place across multiple stages. Fiberglass pools use a molded shell delivered for installation; vinyl liner pools have a separate liner fitted within the pool structure. Compare design goals, installation approach, finish preferences, and the work required for each type. The best fit depends on the property and intended design.
What are common swimming pool construction problems and risks?
Problems can arise when drawings, site work, utilities, and equipment placement aren’t coordinated. A pipe route that conflicts with structural work can complicate installation, while an obstructed equipment area can make future servicing difficult. Florida weather and site access may also affect scheduling and material movement. Keep plans current, record design changes, and resolve layout conflicts before work is concealed or finished.